Eating changes when you’re always on the move. Space is tight, and the weather can mess up your plans. Cooking becomes tough. But, having a small travel chef kit makes things better. It saves money and is healthier than eating out.
Begin by choosing stoves that save fuel and cookware that does multiple jobs. Pick durable utensils and portable water filters. Use items like FryAway to safely throw away used oil without harming nature.
Travelers say a kitchen on the go changes everything. Hostels often don’t have the tools you need. Having your own cooking gear means more comfort, savings, and eating well.
We’ll show you what you need for cooking while traveling. It works for van life, taking it slow, or if you pack light. Buying a kit or making one, the right tools make cooking easy, delicious, and eco-friendly.
Why a Nomadic Kitchen Matters for Long-Term Travelers
Travelers on long trips find a small kitchen game-changing. It lets them make fresh meals, decide what goes into their food, and eat when they want. This means they can easily adapt to unexpected changes like bad weather or transport issues.
The benefits of cooking while traveling
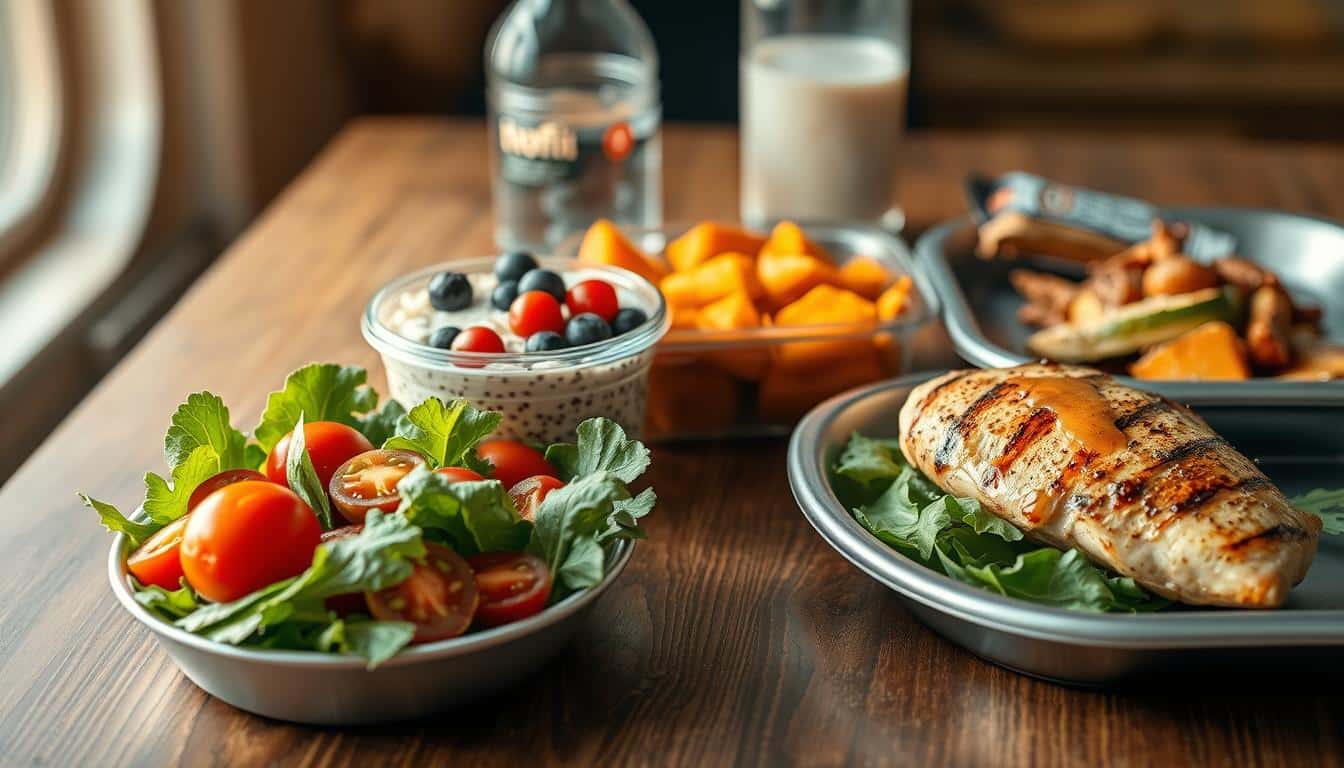
Cooking on the go reduces eating the same fast food and cuts down on restaurant costs. You get to pick fresh, whole foods over processed ones. This is great for staying healthy. Plus, learning easy recipes makes meals less stressful and adds fun to your travels.
How a kitchen kit saves money, improves nutrition, and enhances experiences
Saving money is easy when you cook your own meals. Simple dishes like boiling rice or frying eggs are much cheaper than dining out. You then have extra money for fun activities like market tours or hiking adventures.
Cooking with ingredients you trust means eating healthier on the road. Using a small stove and handy cookware, you can prepare meals that keep you energized and healthy.
Mealtime can bring people together. Cooking with local products can help you bond with your hosts and other travelers. Often, these shared meals create lasting memories of your journey.
When to prioritize a compact kit vs. ultra-minimal travel
For many long-term travelers, a compact kitchen is key. A basic setup includes a lightweight stove, a pot, a good knife, and some versatile utensils. This balance is perfect for those traveling slowly or living in a van.
If you’re always on the move or only have carry-on, go ultra-minimal. Just pack a reliable knife, a pot for boiling water, and something small to cook with. This approach lets you keep things simple without weighing you down.
- Compact travel kitchen: ideal for month-long stays and comfort-focused trips.
- Ultra-minimal kit: best for fast-moving backpackers and tight carry-on limits.
- Middle ground: add a spice tin or small pan if you want more variety without much extra weight.
Travel cooking essentials
A compact nomadic kitchen begins with a few key items. Choose pieces that are fuel-efficient, long-lasting, and compact. Think about a small list including a stove, cookware, utensils, water treatment, and storage solutions.
Core items every nomadic chef needs: stove, cookware, and utensils
Start with a fuel-efficient, light stove. Options include a canister stove, a compact electric model, or a small butane burner, depending on available fuel. Match your stove with a versatile pot set that can also be used as a pan or bowl.
Bring strong utensils like a Victorinox or Wüsthof chef’s knife, a Leatherman multi-tool, a sharpener, and a foldable spatula. Don’t forget a small cutting board, can opener, and a coffee sock or French press if you love coffee.
Lightweight, multi-purpose gear to save space and weight
Focus on items with multiple uses. Stackable pots, foldable bowls, and multi-use lids save space. For backpackers needing light gear, titanium or thin stainless steel are best.
- Single-pot systems for backpacking
- Nesting stainless sets for van-lifers
- Collapsible storage and silicone utensils for every kit
How to choose items that fit different travel styles (van life, backpacking, slow travel)
If you’re in a van or slow traveling with more luggage space, pick bigger pans, a small kettle, and items like a mortar and pestle or a tiny grater. These help you prepare a wider range of dishes.
Backpackers should go for a single-pot system, a super light stove, titanium cookware, and only necessary utensils to keep their load light. Slow travelers with checked luggage can afford to bring a full chef’s knife, a Leatherman, and more cooking gear for comfort.
Choosing travel kitchen items means finding a balance between weight, toughness, and your cooking style. Maintain a select list of essentials, collapsible storage, and lightweight gear for easy, reliable packing for any journey.
Compact and efficient portable stoves
Picking the right stove is crucial. It influences cooking speed, fuel expenses, and safety while traveling. Go for a unit that’s light and simple to set up. It should fit your travel needs. City dwellers often use nearby cooktops. Meanwhile, van-lifers and hikers need gear that’s reliable in harsh weather.
The type of fuel and stove design are key factors. Canister gas stoves heat quickly and are easy to adjust at the campsite. Backpacking versions are light and compact, perfect for carrying. A single butane burner is great for short trips and small living spaces. For slow travelers, an electric stove works well when you have access to electricity at campsites or in RVs.
- Canister gas stove: quick boil times, wide accessory availability.
- Backpacking canister: ultralight, efficient for one- or two-person meals.
- Butane single burner: stable flame for car or hostel cooking.
- Travel electric stove: clean, quiet option when shore power exists.
Fuel efficiency varies based on the stove’s design and how you use it. To save fuel, cook on low heat and use pots with tight-fitting lids. Add a windshield if it’s windy, or pick stoves with wind protection. Cold can lower canister pressure; warm them up before cooking to keep the heat steady.
Regular stove maintenance is vital. Clean the burners and ports to avoid blockages after each use. Check seals, O-rings, and connectors for damage. Store canisters in a cool place, standing up. If using an electric stove, inspect cords and plugs to prevent wear and tear.
Always follow safety tips when cooking. Don’t use open-flame stoves in enclosed spaces like tents or cars. Place the stove on a flat surface with nothing flammable nearby. Use a dependable lighter, like those for BBQs, to light gas stoves safely.
- Handle fuel canisters as the maker suggests.
- Do not puncture or burn empty canisters.
- Dispose or recycle canisters as your community directs.
- For electric stoves, check if the power source fits the appliance’s needs. Use an inverter or a proper campground hookup.
Investing in a good stove and regular check-ups mean fewer issues and safer cooking. Choose the right fuel for your journey. Prepare for the wind and weather. Keep your gear in good shape for hassle-free meals on the go.
Multi-purpose cookware and storage solutions
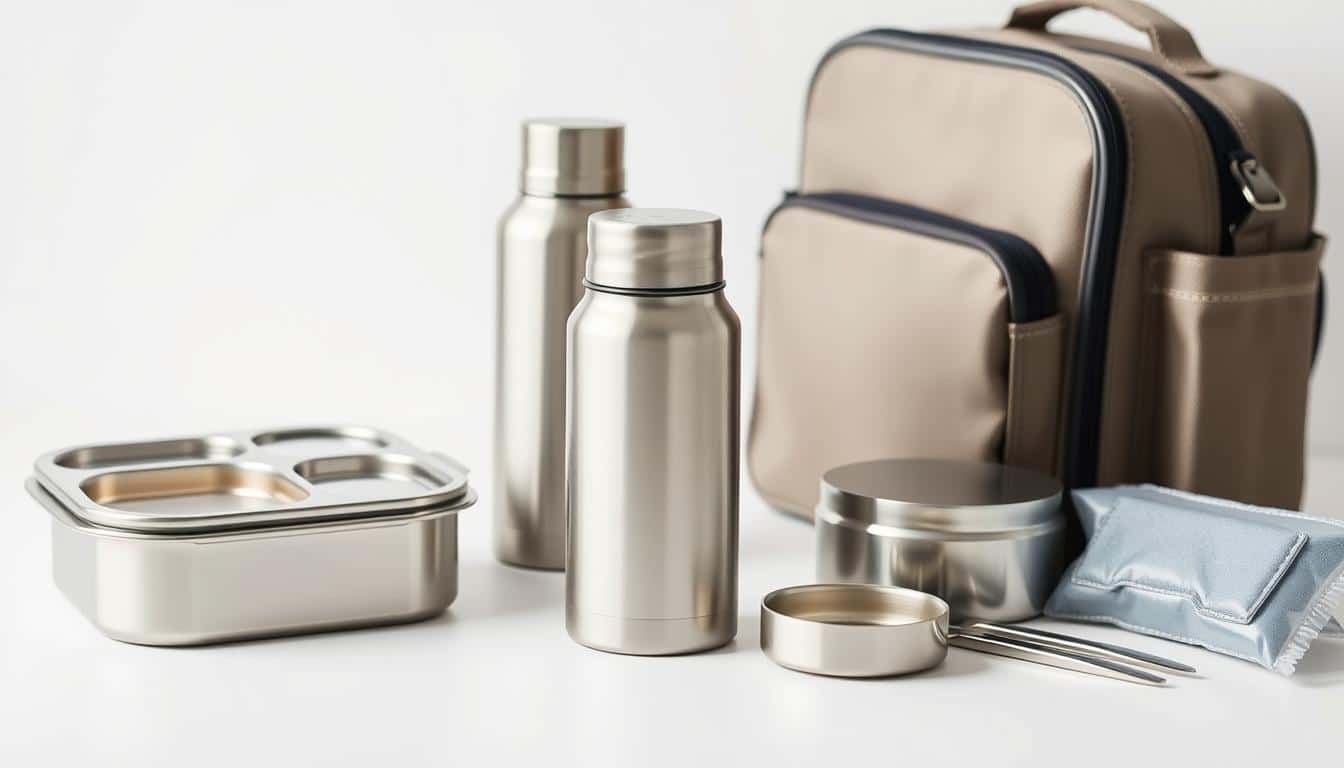
Smart cookware and neat storage can make tiny kitchens feel bigger. Choose items that do several tasks, stack up well, and can handle being moved around. Use nesting cookware sets, foldable containers, and packing cubes. These help reduce clutter and keep things easy to find.
Nesting and multi-use pieces
- Nesting pots save space because they fit inside each other. To protect their finishes and stop them from moving, place lids between pots.
- Pans that also serve as lids cut down on what you need to carry. A shallow pan can be both a skillet and a lid for a bigger pot.
- Collapsible silicone bowls and cups flatten for easy storage. They’re great for meal prep, serving, and keeping leftovers without adding weight.
Storage and organization
- Store small utensils in the biggest pot to fill empty spaces. Protect yourself from sharp edges with a cloth or sheath.
- Use travel packing cubes to keep cookware, food, and utensils separate. Dedicate one cube for equipment and another for dry goods.
- Choose foldable containers over bulky ones. They stack when not in use and seal well for saving leftovers.
Compact extras that matter
- Don’t forget a silicone funnel and pot holders. They make pouring easy and protect your hands from heat.
- Carry zip-top bags for keeping food and reuse them as much as possible; just wash and dry them out.
- A small packing cube, around 14″ x 10″ x 3″, can carry your whole kitchen kit, saving space for other essentials.
Materials to prefer
- Choose lightweight stainless steel for its durability and rust resistance during long trips.
- Use hard-anodized cookware for a nonstick surface that’s tough and long-lasting.
- Food-grade silicone is perfect for items that fold up, funnels, and tools that resist heat.
Keep only a few perishables and update your supplies regularly. Organize items by their use, not brand, to make finding things easier. Making smart choices with nesting gear, foldable containers, packing cubes, and selecting the right materials can turn a small set of cookware into a versatile travel kitchen.
Durable utensils and essential tools for the road
Start by choosing a few key items that are versatile. These should be durable, perform well in many situations, and easy to pack. Think about getting tools that not only help with cooking but also ensure your safety and independence when away from home.
A good knife is essential. Consider a high-quality chef knife from brands like Global or Wüsthof. These knives are easy to prep with and reliable. A compact design and a protective sheath make them perfect for travel. Don’t forget a portable sharpener to keep it in top shape.
- Leatherman travel multi-tool: pliers, screwdrivers, bottle opener, and a backup blade that fits multiple tasks.
- Quality chef knife in a protective sleeve: preferred over low-quality rental blades.
- Pocket sharpener: keeps the edge for vegetables, meat, and herbs.
Opt for foldable and silicone kitchen tools to save space. A collapsible spatula and tongs make cooking and serving easy without taking up too much room. Also, a small peeler and spatula set add versatility to your kit.
- Folding spatula for sautéing and flipping.
- Silicone tongs that fold flat for travel.
- Compact peeler and can opener for daily use.
Don’t forget items that enhance taste and presentation. A compact mortar and pestle let you use fresh spices. Include a muddler for herbs and citrus in drinks or sauces. A foldable spoon and a small grater are perfect for serving and garnishing.
- Mortar and pestle travel kit: crush chilies, garlic, and spices on the go.
- Muddler for herbs and citrus when making dressings or drinks.
- Folding serving spoon for communal meals without extra weight.
Packing wisely is crucial. Always put sharp items in checked luggage and secure them well. Keep your Leatherman tool easily reachable in your kit. Regularly inspect and maintain your tools to avoid any problems.
Focus on stainless steel or food-grade silicone tools. They last longer and are easy to clean. Choosing the right utensils and tools makes cooking while traveling both easy and enjoyable.
Food safety, water, and cleaning on the move
Safe food on trips starts with simple steps. Plan for clean water, tight storage, and quick drying. Choices like a good filter, reusable wraps, and a clothesline stop spoilage and reduce waste. These actions keep food fresh and lower sickness risks while traveling.

Portable water filters and safe water handling
Carry a reliable portable water filter like Sawyer Mini or LifeStraw for taps and streams. If you can, boil water for one minute to kill germs. Use boiled water with filtered water if it looks unclear.
- Use filtered water for cooking, coffee, and rehydrating meals.
- Store treated water in clean, marked containers to avoid cross-contamination.
- Replace cartridges according to manufacturer instructions to keep it working well.
Practical food storage travel tips
Use zip-top bags for liquids and dry goods and clean them after using. For leftovers, pick reusable wraps like Bee’s Wrap or silicone lids that breathe and reduce plastic. Seal bags with clips or binder clips in wet places.
- Keep fruits and veggies in mesh bags and wash before storing.
- Mark containers with dates to keep track of freshness on long trips.
- Press dry goods into tiny jars or vacuum bags to save room.
Cleaning travel kitchen strategies
Wash gear right away to prevent smells and mold. Use a small biodegradable soap and a scrubber for most cleaning. Always rinse well and squeeze out items like coffee socks to get rid of dirt.
- Make a mini clothesline with cord and pins to air dry items like coffee socks and dish towels.
- Choose quick-dry materials for towels and filters so they can dry fast in sunlight or air.
- Handle cooking oil the right way—solidify it with products like FryAway or keep it in sealed containers for disposal.
Using these strategies helps with food safety on trips and makes gear last longer. Small steps in cleaning and organizing food storage make cooking while traveling easier and safer.
Eco-friendly practices for nomadic chefs
Traveling chefs who love the Earth can have an eco-friendly setup. By choosing certain products and habits, they reduce waste. This protects nature and keeps their cooking spaces clean while moving.
Reduce single-use plastics
- Carry a metal straw and a foldable stainless bottle instead of single-use plastics for daily drinks.
- Bring your own cutlery in a woven pouch or silicone case to avoid using disposable ones at eateries.
- Opt for beeswax wraps instead of plastic for covering food or packing sandwiches.
Responsible disposal of cooking waste
- Don’t throw cooking oil on the ground or in drains. Check local laws to dispose of it correctly.
- Store greasy waste in a small, sealed jar until you can throw it away right, like in a compost bin.
- Wash and reuse zip-top bags, or use cloth bags that serve multiple purposes, like shopping and storing veggies.
Products that minimize environmental impact
- Choose compact, eco-friendly cooking sets and market spices in travel-friendly tins for less waste.
- Use plant-based products like FryAway travel to turn used oil into a solid, which is safer for the environment.
- Pick items made of recycled or durable materials to cut down on trash and the need for new stuff.
Keeping your traveling kitchen eco-friendly is simple. Choose reusable goods, dispose of waste properly, and use FryAway to manage cooking oil. These steps will help you care for the planet while you explore.
Smart spice, pantry, and ingredient strategies
Starting simple with flavors while traveling requires a plan. A small travel spice kit should have basic tastes. Choose strong pantry items for longer trips. Learn to buy local ingredients for that fresh taste. Little tools can make simple foods into great meals.
Small spice kits and travel-friendly seasoning containers
Pick jars or tins that won’t leak and are light. They should fit into a utensil roll easily. A simple collection of salt, pepper, chili flakes, oregano, and curry powder can match many dishes. Buying pre-made kits from specialty stores is a quick fix.
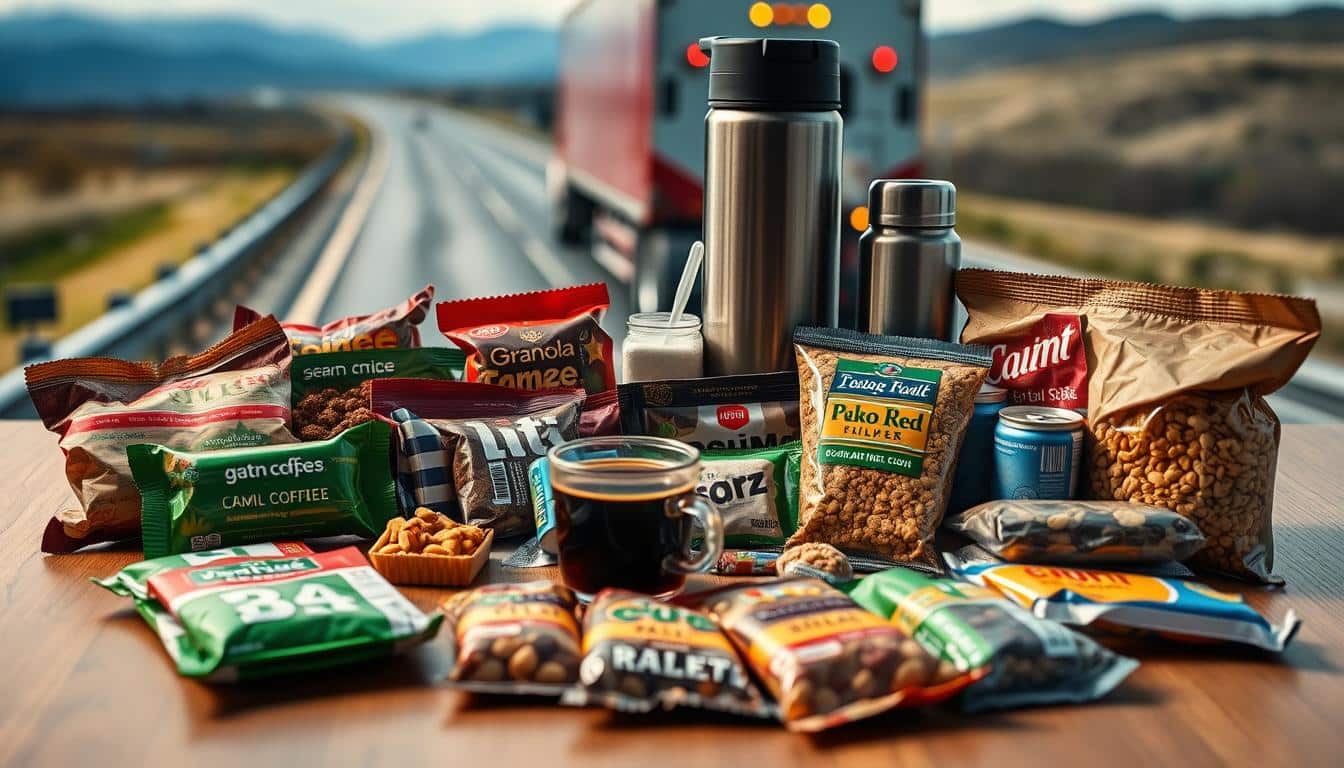
Staples to carry: rice, lentils, instant grains, and shelf-stable proteins
- Small vacuum bags of rice, quick-cook lentils, couscous, or instant oats are essential.
- Add canned tuna, chickpeas, or textured vegetable protein for no-fuss meals.
- Pack pantry basics in zip-lock bags and small jars for easy travel.
Buying fresh locally and flavor tools to boost dishes
Go to local farmers markets and spice stalls for chilies, herbs, and whole spices. This lightens your load and lets you try local tastes while supporting small vendors.
A mini mortar and pestle can crush spices well. Use a small grater for turmeric and ginger or a tiny muddler for herbs. These tools turn basic foods into dishes with authentic flavors without much hassle.
Balance carried items with local finds. Have emergency spices on hand but also plan to buy local goods. This strategy makes for variety in meals, keeps packing minimal, and ensures authentic local flavors.
Small appliances and gadgets worth the space
Choosing small travel appliances for your bag depends on style, power, and usage frequency. For those staying in one spot for weeks, a few electric gadgets are comforting. Backpackers and constant travelers might prefer non-electric tools. They are lighter and save space.

Coffee and tea first. Love your morning ritual but need to save space? A Costa Rican coffee sock is ideal. It’s perfect for coffee or tea and is easy to clean. For places with good power, use a compact French press or a small electric kettle for café-style drinks.
- Bring a coffee sock when you need light, multi-use travel coffee gear that fits in any bag.
- Choose a compact French press for richer flavor if you have checked luggage and outlets.
For those staying longer in one place with good electricity, consider mini blenders or travel kettles. Brands like Bodum or AeroPress offer great compact options. Choose items that work well abroad to avoid surprises.
- Prioritize small travel appliances with low wattage for easier use on varied circuits.
- Pack protective cases to prevent damage during transit.
Before packing, ask yourself: Will I use it often? Do I have good power where I’m going? Does it serve more than one purpose? If yes, it’s likely a good choice. But if you’re moving a lot, choose manual tools and minimal coffee gear.
Even small appliance choices can greatly improve your daily comfort. Match gadgets to your travel plans, focus on weight, and go for versatile options. This way, every item you bring enhances your meals and mornings while traveling.
Packing, legal, and airline considerations for kitchen gear
Travel chefs navigate a mix of rules when taking kitchen gear across borders. They must pack gear for flights and follow specific rules for knives. This guide explains what to check before departure and how to ready items for travel.
It’s best to put sharp items in checked luggage. Chef knives and tools can go in checked bags if they’re covered. While most travelers have no trouble packing a Global knife or a Leatherman, rules for stoves and sprays can differ greatly.
- Use sheaths or cases for sharp tools.
- Wrap knives in clothes or use a knife roll to limit movement.
- Keep multi-tools in checked bags, not with you on the plane.
For fragile items like ceramic grinders or glass jars, use sturdy cases. Pack fragile items with care, using clothing or bubble wrap for protection. Make sure sharp items are packed to avoid damaging the bag.
Each country has its own rules on bringing in food. It’s best to avoid fresh produce, meats, seeds, and soil. However, things like rice, lentils, and sealed spices usually clear customs without trouble.
- Check the rules for bringing food and hazardous items to your destination.
- Always declare packaged foods or special items at customs to prevent issues.
- Check rules on fuel or gas canisters for stoves, as many airlines ban them.
Take photos of expensive gear and keep purchase proof. Place breakable or pricey items in the middle of your bag for safety. Pack for thorough protection and easy inspection.
Always declare items at customs when needed. Staying informed on customs and airline rules helps keep your gear safe and travel plans smooth.
Building your personalized nomadic kitchen kit
Start by figuring out what you need for your travel style. Backpackers need minimal gear. Van-lifers can bring more kitchen tools. Slow travelers should focus on durable gear for longer stays.
Use a checklist to match kitchen items with your travel style. Here are practical groupings to quickly pick your travel kitchen kit.
- Backpacker essentials: lightweight stove, one nesting pot, titanium spork, small water filter, compact coffee sock, folding spoon, mini sharpener.
- Van-lifer set: portable stove, durable pan, Global chef knife, Leatherman, silicone tongs, foldable containers, pot holders.
- Slow traveler kit: stainless cookware, electric kettle (if available), high-quality chef knife, mortar and pestle, complete spice set, strong storage jars.
Test your travel kitchen at home before you leave. Cook simple meals for a week with your kit. Note what you use often and what you don’t need.
- Try making one-pot meals, coffee, and breakfasts with your kit.
- Time how long it takes to prep and clean up.
- Remove any duplicate items or things that are too bulky.
Put your gear in a main packing cube and a smaller day-pack. Add reusable cutlery, metal straws, beeswax wraps for snacks. This way, you have what you need and reduce waste while eating out.
Think about whether to buy or rent travel kitchen gear. Renting is smart for short trips. Buying makes sense for longer journeys with items like good knives, sturdy cookware, and a dependable stove.
- Pre-made kits are quick and can be cost-effective for beginners.
- Building your own kit is better if you travel a lot.
- Consider the availability of replacement parts, fuel, and brand reliability when buying.
Keep your kitchen checklist flexible. Check and update it every few months and after testing at home. Small changes can make a big difference in comfort, safety, and enjoying your meals while traveling.
Conclusion
Creating a nomadic kitchen is straightforward. With essential tools and the right attitude, cooking becomes an exciting part of your journey. Begin with key travel cooking items. These include a dependable stove or a method to boil water, a sharp knife, a nestable pot, essential utensils, a water filter, and a compact spice kit. These essential items keep you healthy, save money, and make daily travels more enjoyable.
Customize your kit based on your travel style. Backpackers should choose lightweight gear, while van-lifers might opt for more comprehensive setups. You can find complete travel kitchen kits from trusted brands at various prices for an easier start. Before hitting the road, try everything at home. Learn fuel and water safety, along with some basic repairs, to avoid unexpected issues during your travels.
Remember to pack lightly and cook efficiently. Keep your gear in a single packing cube or a compact bag. Use eco-friendly products like FryAway for oil and biodegradable soap for dishes. By packing wisely, sticking to reliable tools, and cooking thoughtfully, your mobile kitchen ensures better meals and memorable travel experiences.
FAQ
What are the absolute core items for a nomadic kitchen?
How should I choose a stove for travel?
What stove safety and fuel-disposal rules should I follow?
How do I manage used cooking oil on the road?
Which materials are best for travel cookware and tools?
How do I pack and organize a compact kitchen kit?
What utensils are worth bringing versus leaving behind?
Can I keep good knives when flying and crossing borders?
How can I keep water safe for cooking and drinking?
What cleaning and drying practices work best on the road?
How do I reduce single-use plastic while traveling?
What spices and pantry staples should I pack?
When are small electric appliances worth the space?
What are good lightweight coffee solutions for travelers?
How should I adapt a kit for backpacking vs. van life vs. slow travel?
Is it better to buy a prebuilt travel kitchen kit or build my own?
How can I test and refine my kit before leaving?
What legal or customs issues should I watch for with food and tools?
Content created with the help of Artificial Intelligence.